Estimated reading time: 10 minutes
Going on a trip is always fun and exciting, and for many, the planning process can be just as enjoyable. For some, meticulous planning is a matter of life and death, while others prefer to go with the flow. However, missing just one crucial detail can throw everything off balance. Your mood, mindset, and the entire trip can hinge on that one forgotten thing, turning excitement into anxiety in no time.
But don’t worry! Google Maps has you covered! With its comprehensive tools, you can plan every step of your journey and create a trip that’s not just well-organized but truly memorable. Whether you’re a meticulous planner or a spontaneous adventurer, this guide will show you how Google Maps makes your travel experience smooth and stress-free.
Why Google Maps?
Google Maps offers a variety of features and tools that make trip planning easier than ever. Let’s explore how it can simplify your travel preparation, from organizing your itinerary to navigating your destinations with ease.
All-in-One Trip Planner
Google Maps allows you to add all your travel destinations, pin locations, and even color-code them as you wish. It provides directions to all your required spots, making it easy to plan the perfect trip.
Seamless Integration with Google Products

Google Maps is deeply integrated with other Google tools, making your trip-planning experience more streamlined. You can create custom maps, save them to Google Drive, and organize daily itineraries in Google Calendar. You can manage your vacation budget using Google Sheets and store photos with location tags in Google Photos. This integration ensures that all your travel details are easily accessible within one ecosystem, simplifying your planning and enhancing your overall experience.
Reviews and Local Insights
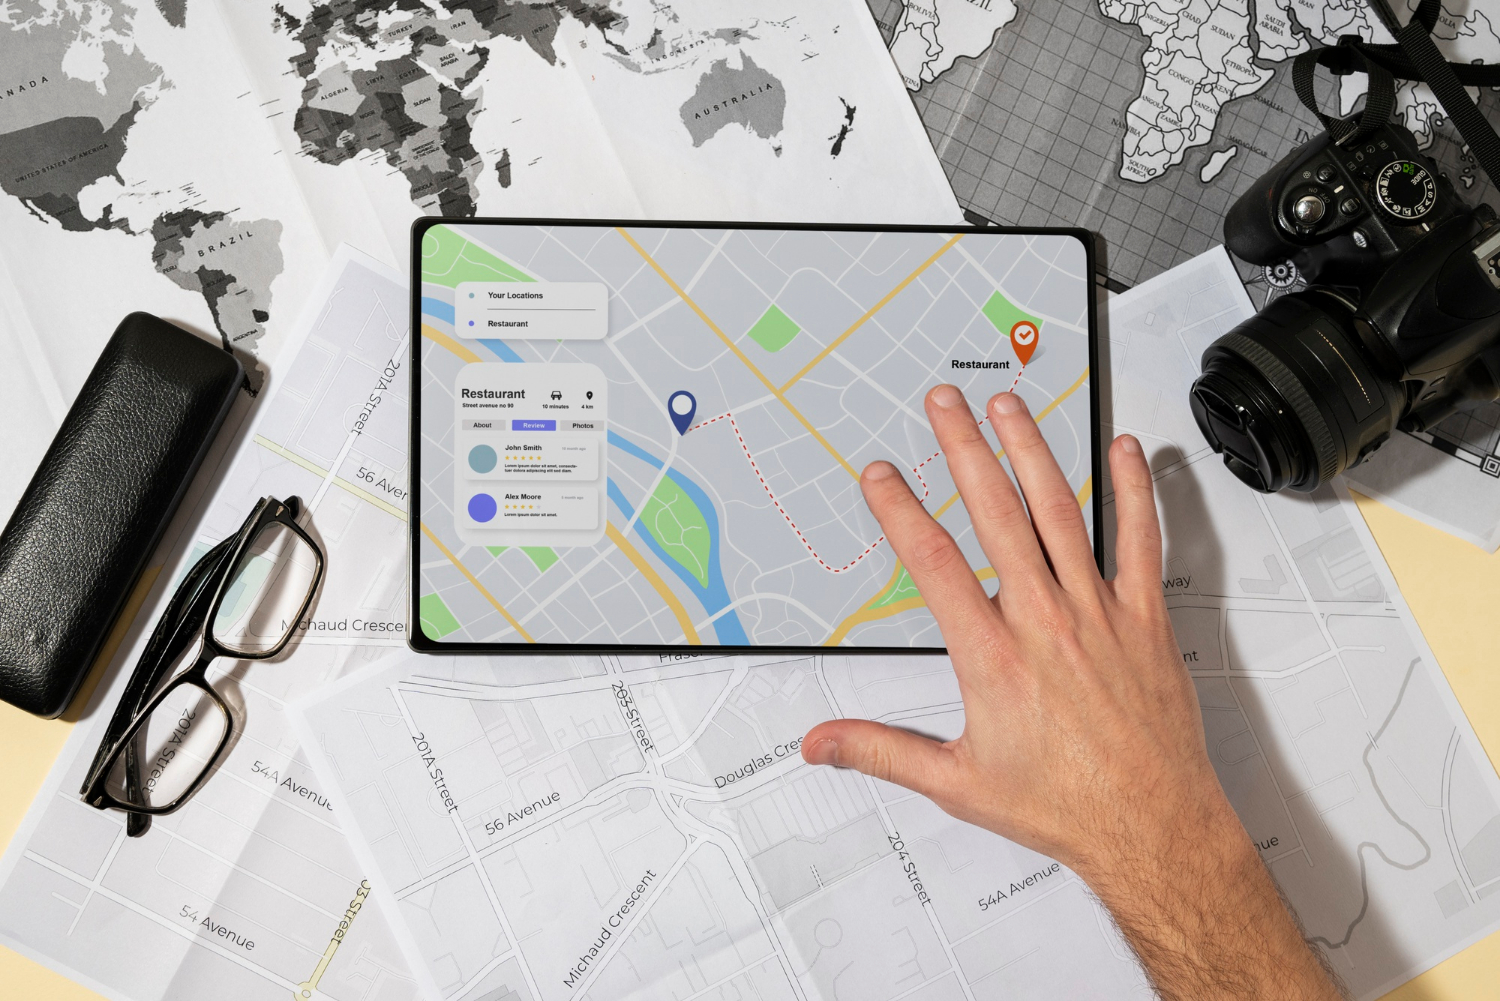
Google Maps offers user reviews and detailed information about places, including links to websites, operating hours, and nearby attractions. Reviews often include travel tips on ticketing, must-try experiences, and things to avoid, making your trip well-informed and enjoyable.
Itinerary Visualization and Travel Options
With Google Maps and Calendar working together, you can easily visualize your trip itinerary. You can assess travel times for different modes of transport, like walking, biking, driving, or public transit, ensuring efficient planning and minimizing surprises.
Personalized Notes and Reminders
Google Maps allows you to add personalized notes and labels to locations. For example, for a traveler who enjoys discovering unique dining spots, Google Maps can become an invaluable tool. They can label restaurants they want to visit, adding personalized notes like “Try the signature pasta!” to each location. By linking these spots to their Google Calendar itinerary, they ensure they never miss a must-try dish.
How to Use Google Maps Trip Planner
Here’s a comprehensive overview of how to use and master Google Maps to make your trips truly yours. From customizing your itinerary to organizing accommodations and dining spots, Google Maps offers the perfect tools to streamline your travel planning and ensure every detail is covered. Let’s dive into how you can harness its features for a flawless journey.
Create a Map
Start by signing up or logging into your Google account and opening Google Maps. Navigate to ‘Saved’ and then ‘My Maps.’ Here, you’ll find any maps you’ve created in the past. At the bottom, select ‘Create Map,’ which will open a new tab with an empty map. Click on ‘Untitled Map’ to name it and add a description.
Plan Your Itinerary
Decide what you want to do and see on your trip. This calls for brainstorming and research. Explore travel guides, blog posts, and itineraries shared by travel bloggers. Check out Instagram hashtags and location tags for inspiration. You can also refer to printed travel guides. Don’t worry about the details yet. Just gather ideas for the experiences you want.
Add Locations to Your Map
Whenever you find a place of interest, search for it in Google Maps using the location name, address, or coordinates. Google Maps will suggest options as you type. Select the correct destination and click ‘Add to Map’ to load it onto your custom map. You can add around 2000 pins for each map.
If you can’t find the exact location or don’t have coordinates, use the ‘Add Marker’ tool to manually pinpoint the location on your map. This flexibility ensures you don’t miss any key spots during your trip.
Personalize Your Map
Google Maps allows you to customize your map, making it both functional and fun to use. You can add icons, colors, pictures, and notes to make navigating your plans easier. For example, you can categorize locations by activity: sightseeing spots, cafes, hotels, spas, shops, and more.
Use Icons and Colors
By selecting the ‘Style’ icon, you can change the pin color and add icons from hundreds of options. For instance, you can use one color for each day of your itinerary or assign unique icons to different types of locations. You can also adjust colors or icons through the side menu, ensuring clear visual organization.

Edit Locations
Clicking ‘Edit’ allows you to change the title and description of a location. Add details like popular attractions, operating hours, ticketing information, or other helpful notes.
Add Images or Videos
Enhance your map by attaching images or videos to your location pins. This feature can remind you of specific spots or help others visualize your plans.
Remove Unnecessary Pins
If plans change, simply click the ‘Trash’ icon to delete any pins you no longer need.
Organize with Layers
Layers in Google Maps Trip Planner allow you to categorize and organize your map efficiently.
Adding Layers
To create a new layer, click ‘Add Layer’ in the sidebar. This will generate a new untitled layer on your map. Rename it to suit your needs, and if you decide it’s unnecessary, click the three dots next to the layer name to delete it. Don’t go overboard, as you can only add up to 10 layers, so plan carefully.
You can make layers invisible by unchecking the box next to the layer name, making it easy to focus on specific aspects of your trip. To move items between layers, simply drag them from one to another.
Organizing Your Map
Use layers to categorize locations. For example, one layer can be for cafes and restaurants, another for sightseeing spots, and another for accommodations. This breakdown simplifies navigation, especially for multi-day or multi-city trips.
You can create a layer for each day. As you see all the hotspots on your map, decide which activities and sights you want to pair together. Use the ‘Line Drawing’ tool to group items on your map, ensuring your plans are logical and feasible. Avoid grouping similar locations, like four cafes, into a single day unless you plan to visit them all.
Color Coding for Clarity
Enhance organization by color-coding pins based on their layers. For instance, sightseeing locations can be blue, dining spots red, and accommodations green. This visual aid ensures you can quickly identify each category and plan your day with ease.
Add Directions
Now that you have an overview of your trip, it’s time to refine your plan and bring it to life by adding directions.
Using the Directions Tool
To start mapping out your route, select any location on your map and click ‘Directions to here.’ This will create a new directions layer. Add locations you plan to visit by selecting ‘Add Destination’ and letting Google Maps create the perfect route for you.
Step-by-Step Directions
Click the three dots next to the directions layer name and select ‘Step-by-Step Directions.’ This provides a detailed breakdown, including distances, travel times, and turn-by-turn instructions, ensuring your trip runs smoothly.
Transportation and Route Optimization
Choose your mode of transportation, and Google Maps will provide estimated times and directions accordingly. This feature can also help calculate costs, such as petrol expenses if you’re driving.
With this level of planning, you’ll have a well-organized itinerary and stress-free navigation for a memorable trip!
Finalizing and Sharing Your Trip Plan
Now that your daily plans are mapped out in detail, it’s time to finalize your accommodation and share your itinerary with your travel companions.
Choosing Accommodations

With a clear view of your daily activities and key spots, you can select accommodations nearby. Staying close to your planned destinations saves both time and money by minimizing long commutes. There are multiple platforms, including Booking.com, that offer map features to help you choose lodging in line with your Google Maps plan. Once booked, add your accommodation to your Google map for easy access.
You should also look up any car rentals you plan to use, as well as tickets for events and attractions.
Accessing Your Map on Mobile
To use your trip plan on the go, download the Google Maps app on your phone. Ensure you’re logged into your account. Tap the ‘Saved’ button at the bottom, scroll to ‘Maps,’ and select your created map to view all the spots you’ve marked.
Sharing Your Map
To share the map with others, click the ‘Share’ button on the map. Enable link sharing to generate a shareable link, which you can send to your travel companions. This ensures everyone is on the same page and can access the itinerary during the trip.
With everything in place, you’re ready for a well-organized, hassle-free adventure!
Let the Planning Begin!
Planning a trip doesn’t have to be overwhelming. With Google Maps, you can streamline your itinerary, organize your days with ease, and ensure no detail is overlooked. From customizing maps with layers and pins to integrating with Google’s other tools, this planner is your ultimate travel companion. Share your plans with fellow travelers, optimize your routes, and enjoy a seamless, memorable trip. With the right planning, every journey becomes a stress-free adventure!
Visit Inside Tech World today for more insightful articles on how to optimize your everyday life with Google products and make the most of their powerful features!
FAQs
Can I use Google Maps Trip Planner offline?
Yes, but you need to download your map beforehand. Open Google Maps, select the area you’ll be traveling to and download it for offline use. However, some features like real-time directions may not be available offline.
How do I save and access my trip plan on my phone?
Make sure you’re logged into the Google Maps app on your phone. Tap the ‘Saved’ icon at the bottom, scroll to find your saved maps under ‘Maps,’ and select the map you created. You’ll need an internet connection to view and use it.
Can I use Google Maps Trip Planner to estimate travel costs?
Absolutely! Use the directions feature to calculate distances and travel times. For driving, Google Maps provides estimated fuel costs, which can help you budget effectively.
How can I customize my map for better organization?
Use layers to categorize locations (e.g., dining, sightseeing, accommodations) and color-code your pins, or use icons to make navigation easier. You can also add notes and photos for extra details.
Is Google Maps Trip Planner free?
Yes, it’s completely free to use, but some linked services, like booking platforms or paid navigation tools, may have their costs.


